ROM 1 – Genisys
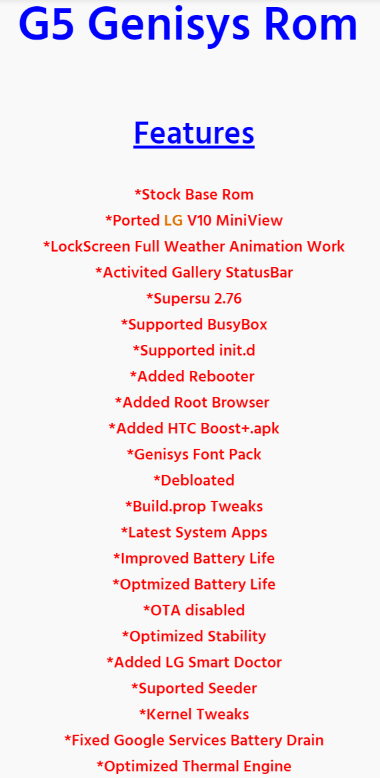
Genisys is considered to be one of the best options for LG smartphones for improved battery life and performance. Genisys has little enhancements in actual appearance and utility, but the increased battery life and stock-like experience can often be hard to beat. You can see full ROM information here. On top of the actual ROM file, you’ll need a custom bootloader for Genisys. You’ll also absolutely need an unlocked bootloader. Follow the steps below to install Genisys First, power off your LG G5. Next, hold the power button and volume down. Once you see the LG logo, let go of both buttons for a second. Now hold power button and volume down again. This time hold the button until you boot into your recovery app. Choose the Full Wipe option (or wipe Dalvik, Cache, Data and System separately.) Download the custom bootloader from here Download the Genisys ROM here Download the Genisys OTA update here Once you’ve downloaded the three files, you can flash these files within your custom recovery. You must flash them in the following order.
Custom bootloaderGenisys ROMGenisys OTA Update
After this you can restart your device and the ROM will be installed.
ROM 2 – RomAur
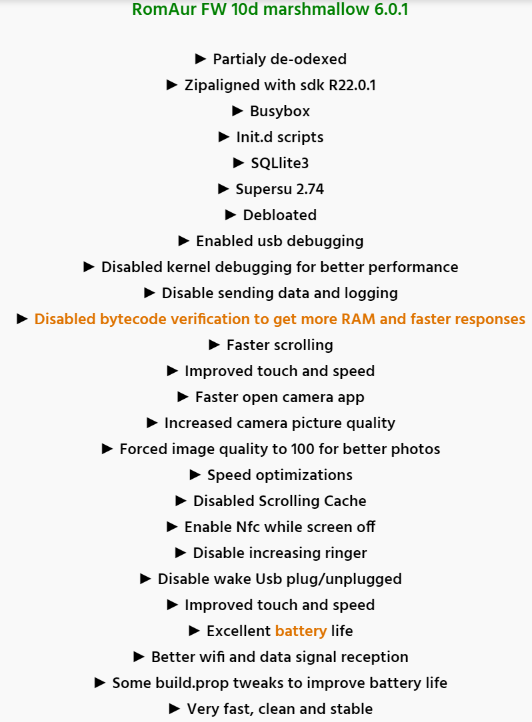
The third and final ROM to be featured in this article is RomAur. This ROM features a slightly debloated experience, improved graphics for faster loading times and better camera quality. More features are listed above and on the XDA Developers thread. To install RomAur all you need is an unlocked bootloader and an installed custom recovery. To get started, follow the guide below. Download the ROM here. Download a 10D firmware for your LG G5. Pick your corresponding country here. Move both files to the storage on your LG G5. Power off your LG G5. Next, hold the power button and volume down. Once you see the LG logo, let go of both buttons for a second. Now hold power button and volume down again. This time hold the button until you boot into your recovery app. Choose the Full Wipe option (or wipe Dalvik, Cache, Data and System separately.) Flash the 10D firmware via TWRP or similar custom recovery. Choose the Full Wipe option again. Flash the RomAur ROM. The ROM should now be installed. You may want to try all three of these ROMs before settling with one, but each of these have a great offering of features and are in working order.
The Best Custom ROMs for Galaxy Note 3Best Galaxy Note 9 ROMsBest ROMs for Galaxy Note 8How to Modify Miui ROMs for Flashing Without Tripping ARB

