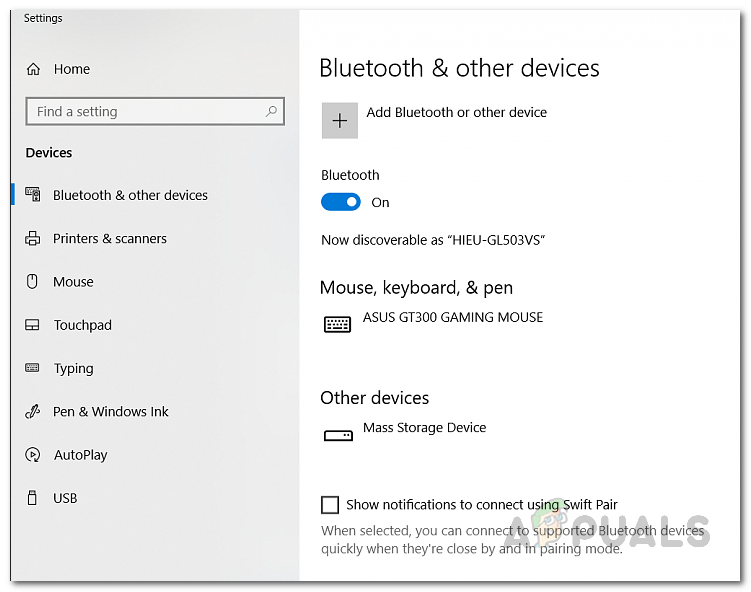
In addition to that, in some cases, the device does not even appear under Bluetooth & other devices in the Settings app while it can only be found in the Device Manager window. As it turns out, the device apparently reappears when you try to remove them which is not really what you would want. This essentially prevents you from being able to pair the device again. The problem in question can sometimes be caused when the Windows service responsible for pairing the devices is not running. The service responsible for this is known as Device Association Service and it basically enables pairing between your system and any wireless devices that you might have. Thus, if it isn’t running, you won’t be able to pair devices. With that said, there are actually multiple ways of removing a paired device from your computer. We will be going through all of them and hopefully one of those ways will help you in removing the device. So, without further ado, let us get started.
Turn on Airplane Mode
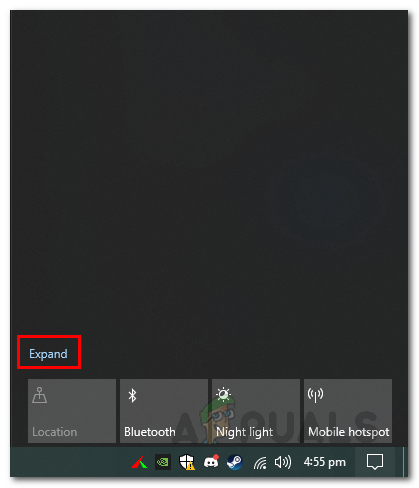
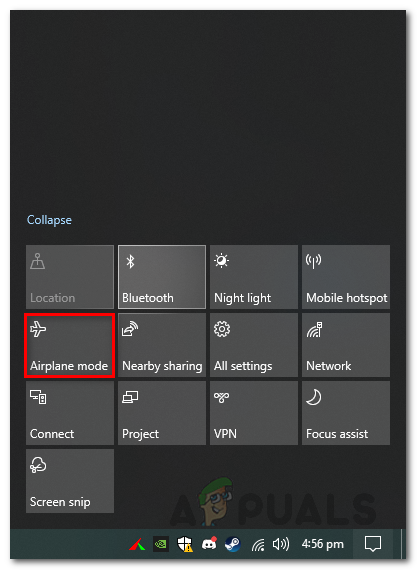
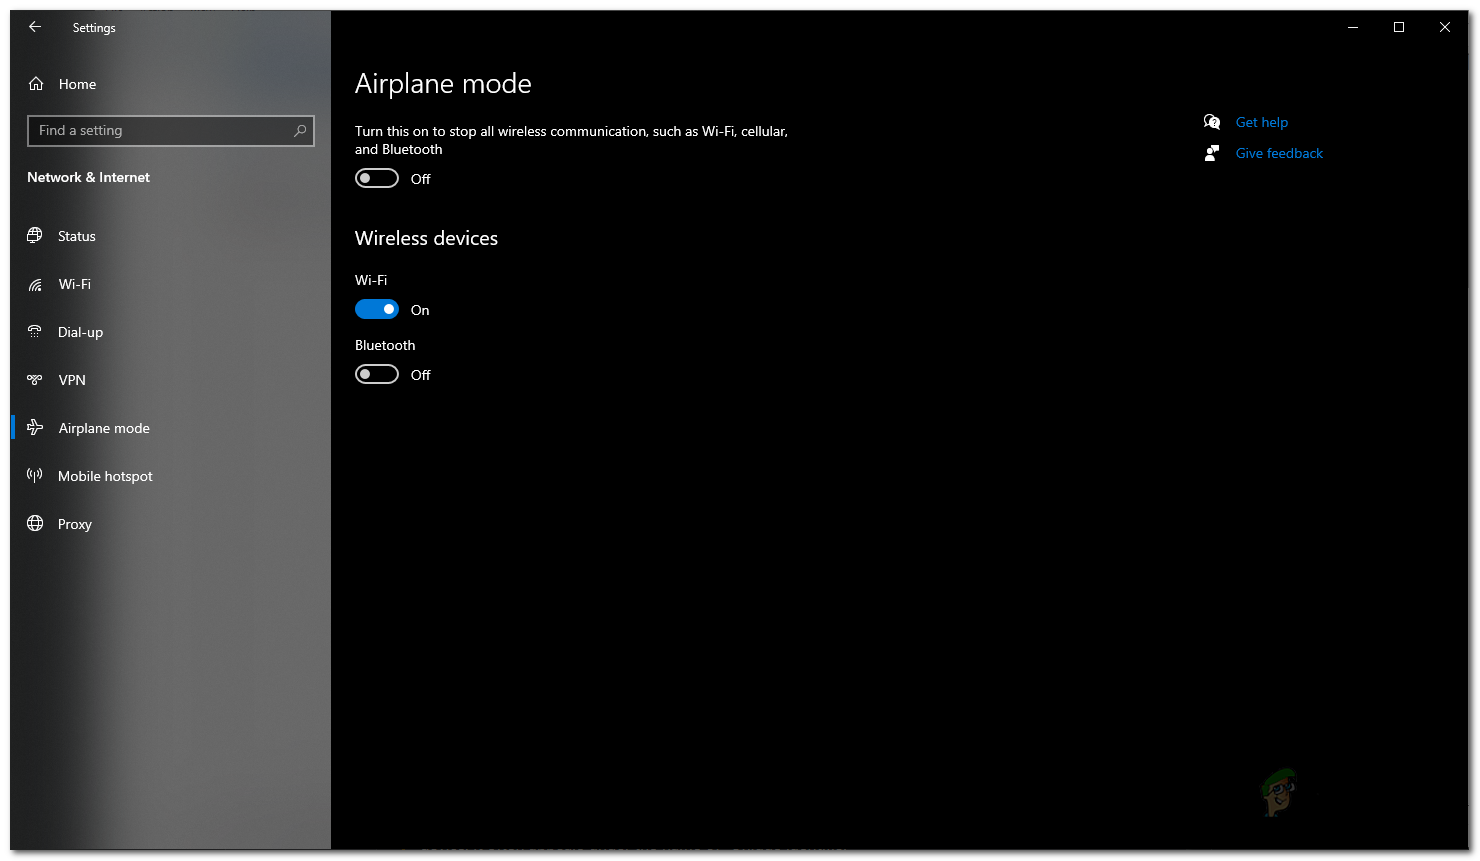
The first thing that you should do when you face the issue in question is to simply turn on airplane mode on your Windows machine. Airplane mode is a feature that essentially disables some hardware features on your device so that it is only able to perform the basic functions. In Windows or any other device, Airplane mode will disable the Bluetooth, along with other wireless functions. This includes Wi-Fi as well so if you are on a wireless connection, that will be disabled as well while airplane mode is on. In short, airplane mode stops all signal transmission from your device, and thus, you are only able to perform limited functions on your machine. To enable airplane mode on your Windows 10 machine, follow the instructions given down below:
Remove Bluetooth Device via Device Manager
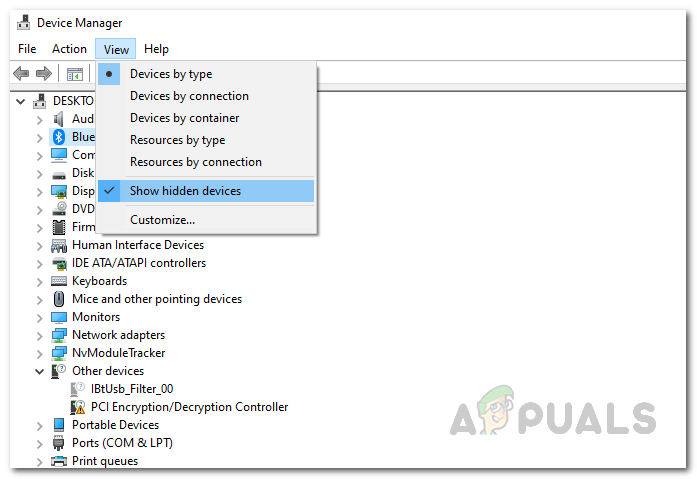
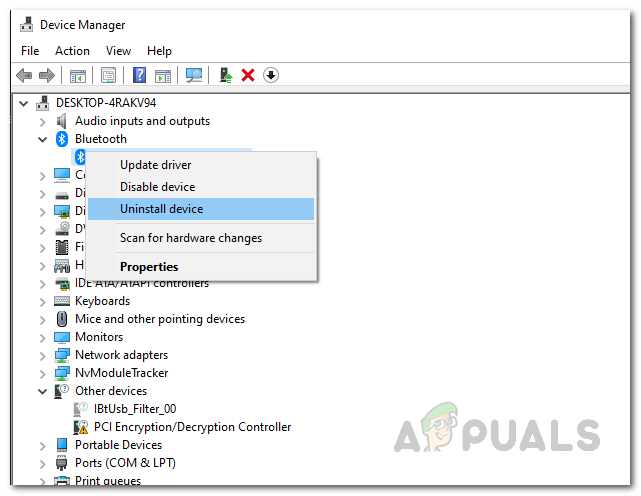
If turning on Airplane mode does not fix the issue for you and the device is still paired to your computer, you can try removing it via the Device Manager. The Device Manager is a really useful utility that lists all of the devices that are connected to your system as well as the drivers that are installed for the specific devices. To remove your Bluetooth device using Device Manager, follow the instructions given down below:
Remove Bluetooth Device From Control Panel
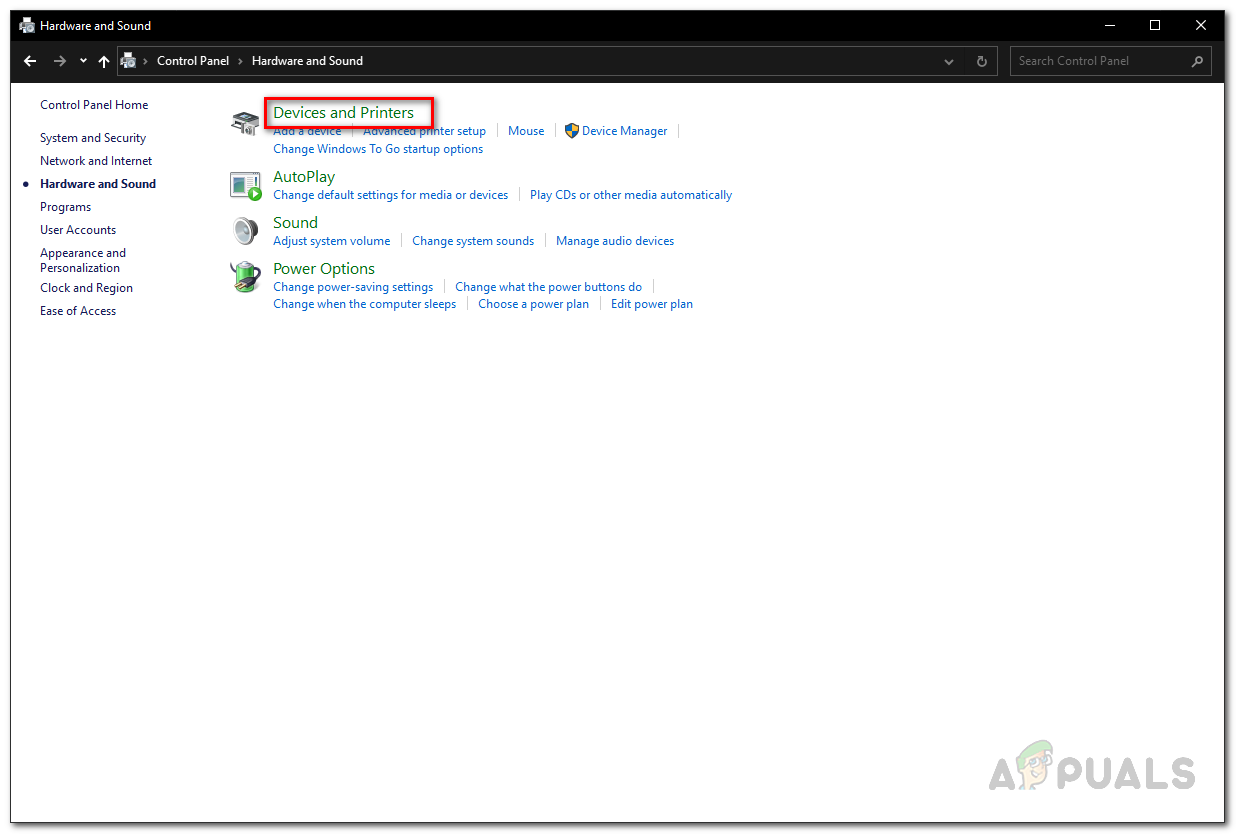
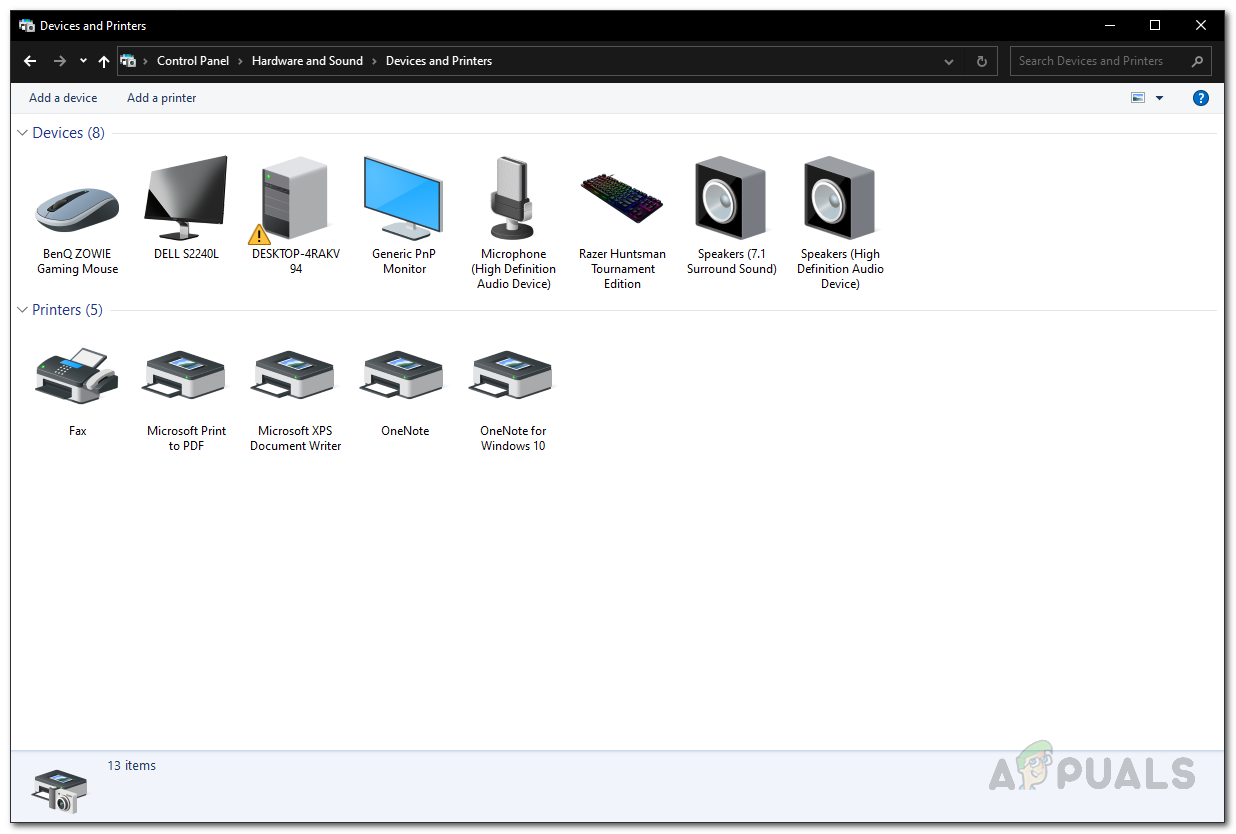
In addition to the Device Manager, you are also able to view and manage the devices that are connected to your system via the Control Panel. This does not, however, mention all the components of your system as the Device Manager but that’s not something we have to worry about here as it lists the Bluetooth devices which is what we are interested in. Follow the instructions down below to remove your Bluetooth device using Control Panel:
Remove Bluetooth Device Key From Windows Registry
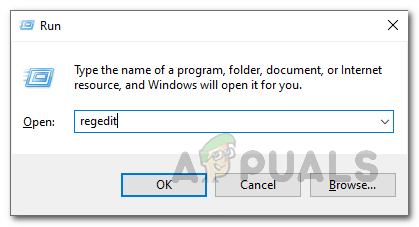
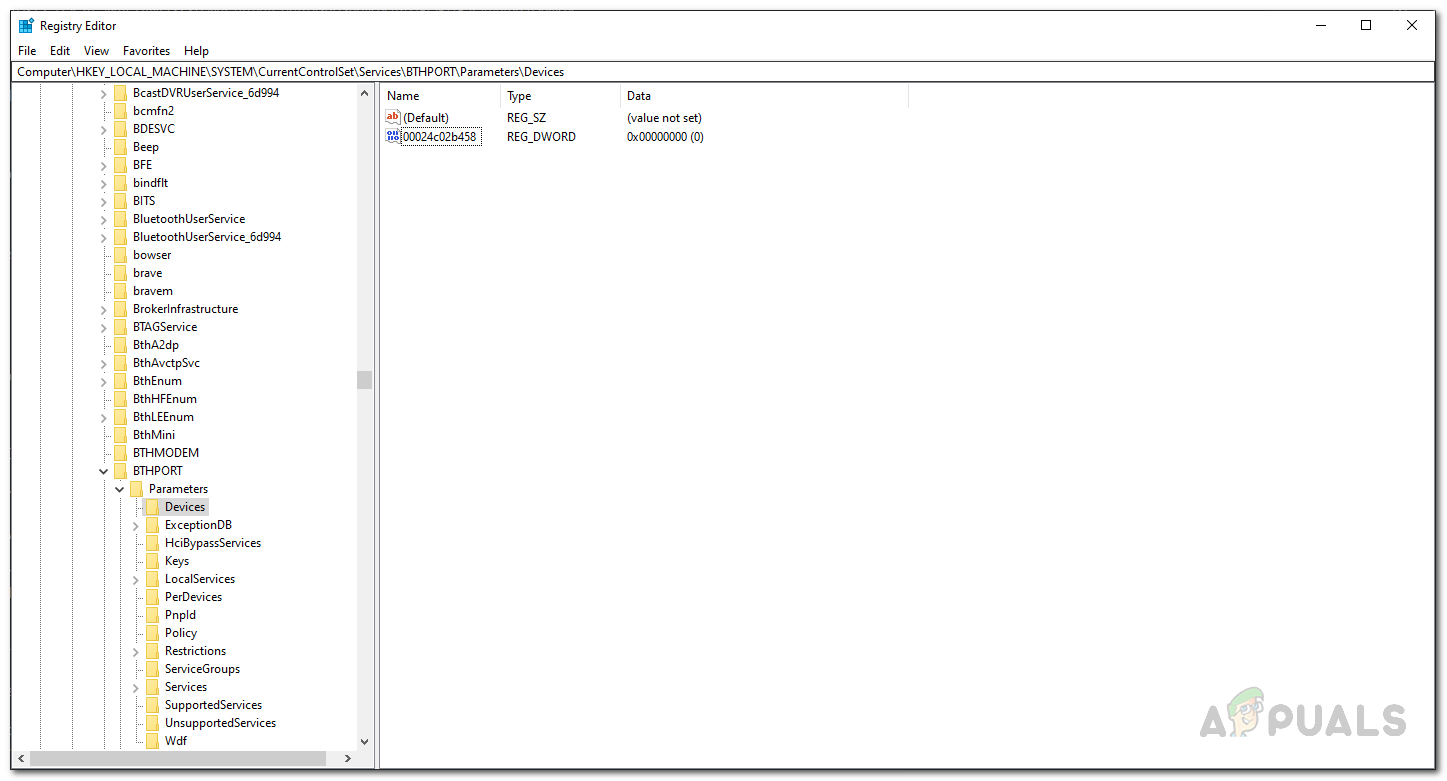
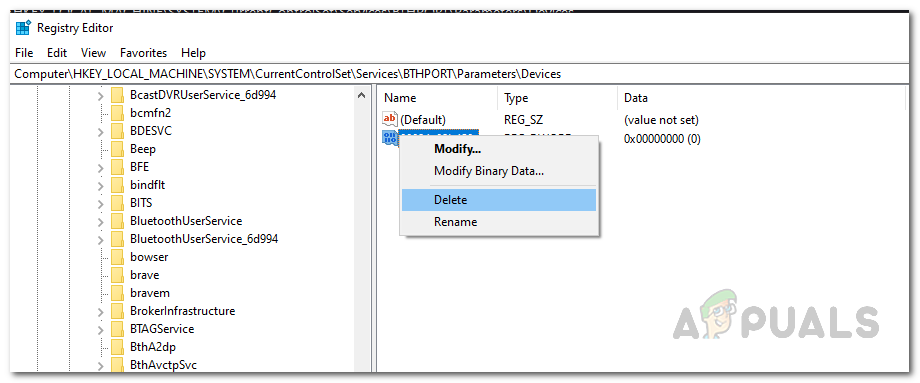
If you are more of a techie and wish to get your hands dirty with the Windows Registry, there’s good news for you as you can also remove a troublesome Bluetooth device via the Windows Registry. This involves deleting the device’s key that basically represents the device in the Windows Registry. Make sure you follow the given steps carefully as an unwanted change to the Windows Registry can cause several system issues. With that said, let us get into it.
Enable Device Association Service
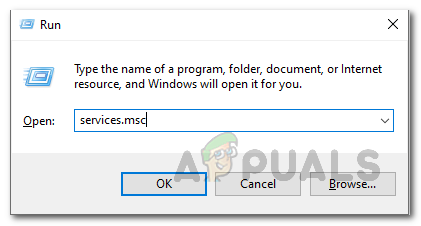
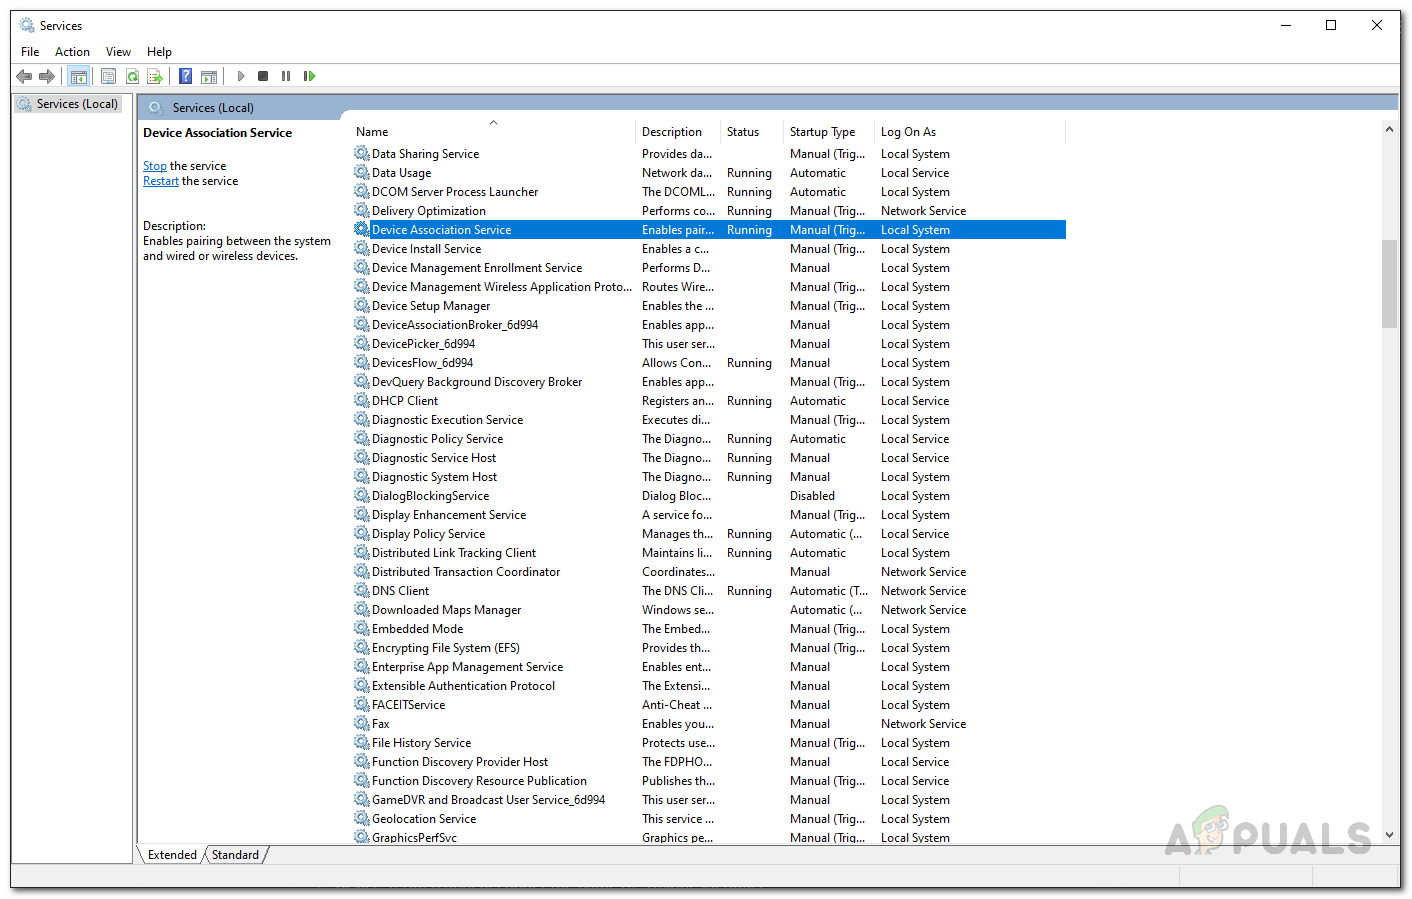
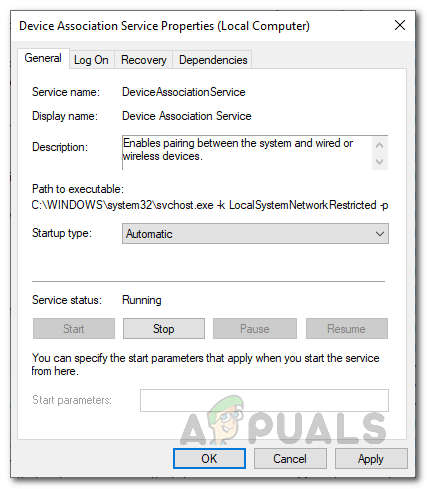
As it turns out, there’s a Windows service that is responsible for pairing devices to your system. If this service, namely Device Association Service, is not running, you won’t be able to remove the Bluetooth device from your system. If this case is applicable, you will have to simply make sure that the service is running. This can be done by opening up the Windows Services window and checking the status of the service from there. To do this, follow the instructions given down below:
How to Modify Bluetooth Stacks on Android for Greatly Enhanced Bluetooth Audio…Bluetooth Classic vs Bluetooth LE (5)How to Fix Connections to Bluetooth Audio Devices and Wireless Displays in…How to Fix Bluetooth not Detecting Devices on Windows 10?
