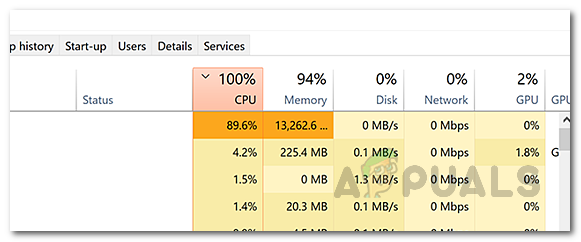
Before we get into more detail, let us first establish what even is this service and what is used for? As it turns out, the DISM or Deployment Image Servicing and Management is basically a command-line tool that comes with Windows. It is often used to prepare and service Windows images which means if your Windows files ever get damaged or corrupted, you can rely on DISM to repair your Windows operating system. In addition to that, when you are installing Windows updates on your computer, the process works in the background to help with that as well. One of the scenarios where you notice high CPU usage of the DISM service is when you are running a Windows update. If that is the case for you, then you have nothing to worry about as it is pretty common and everything should get back to normal once Windows has installed the on-going updates. However, if you notice high CPU usage without that via the Task Manager, then you can follow through this article to resolve the problem. With that said and out of the way, let us get started with showing you how you can resolve this problem via the different workarounds available. So, without further ado, let us get right into it.
Disable Superfetch or SysMain Service and Background Intelligent Transfer Service
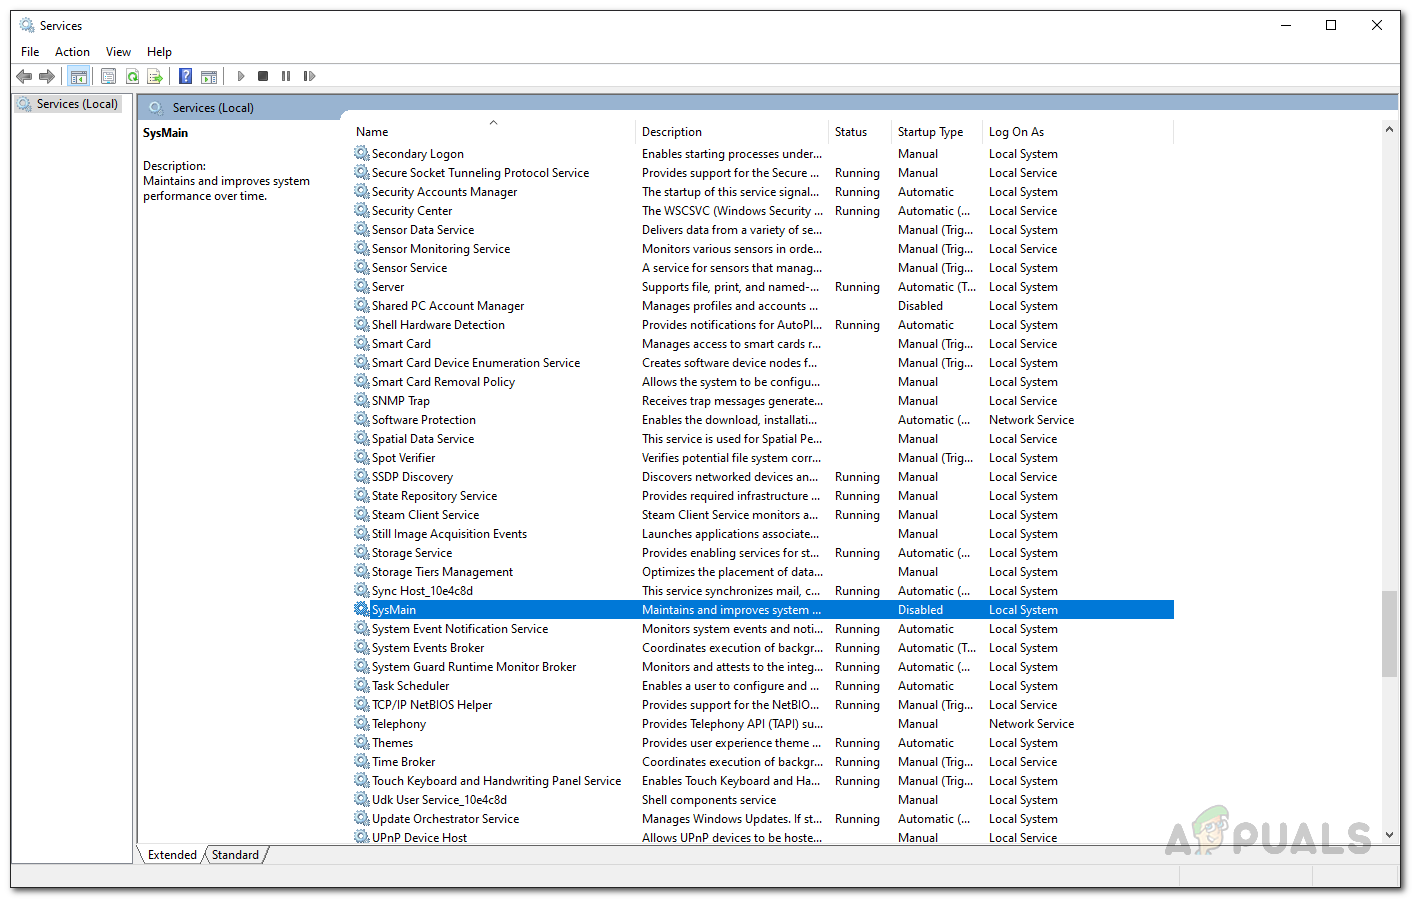
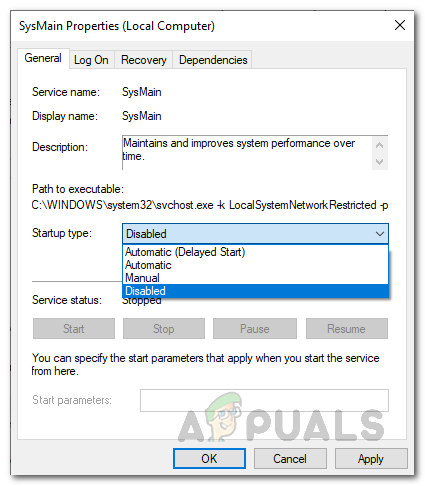
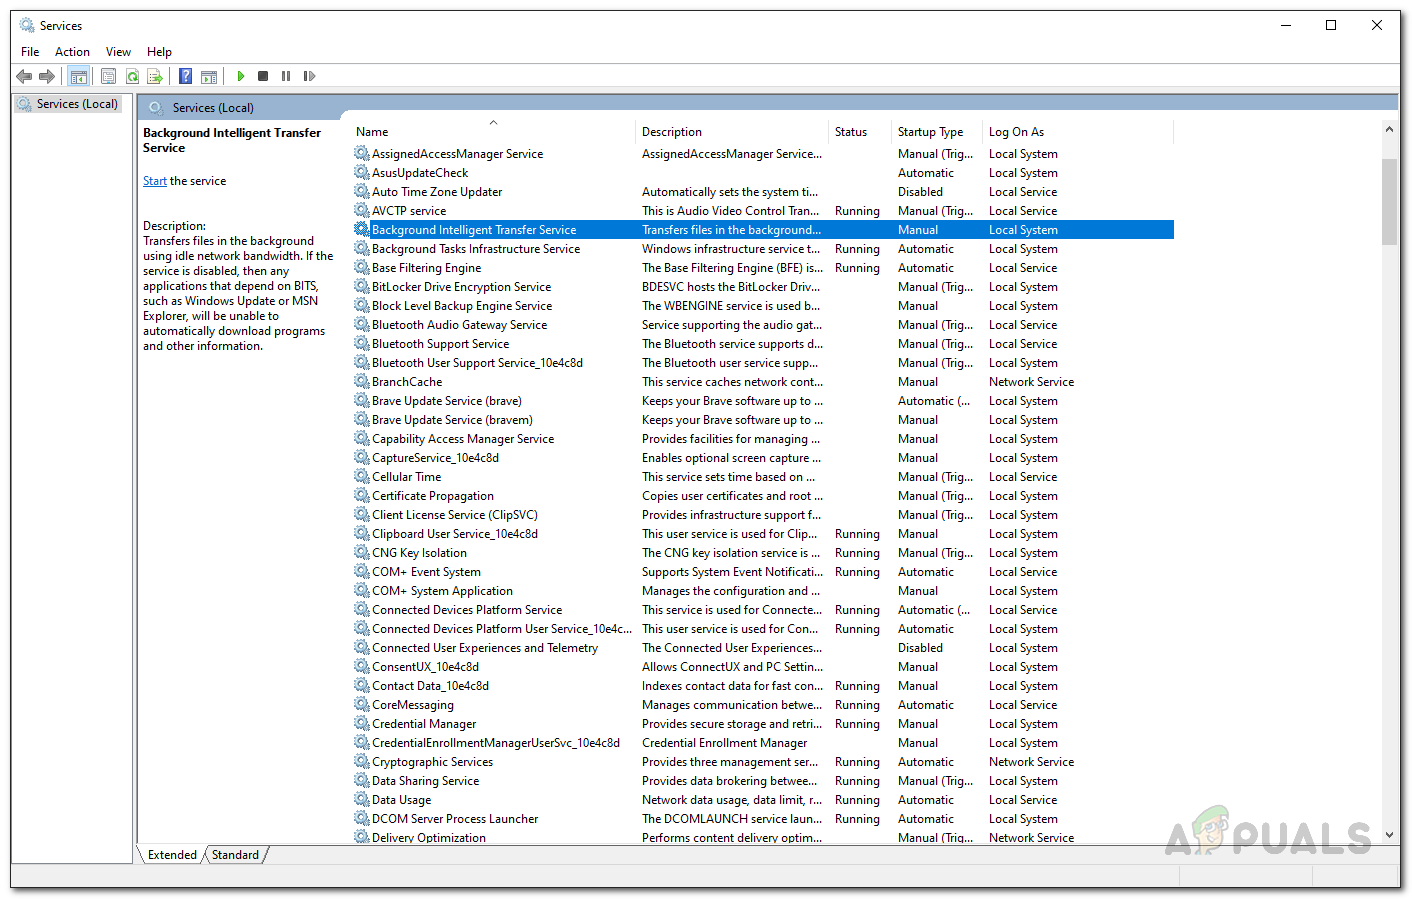
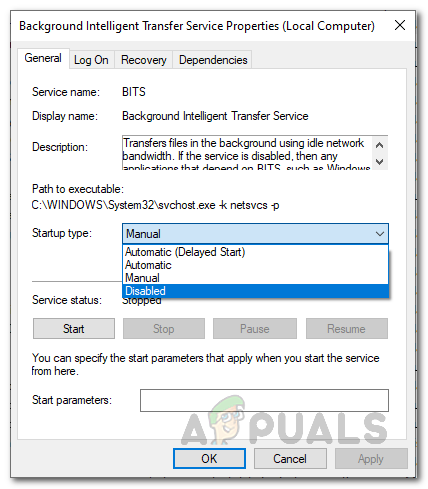
Superfetch is a Windows service that is responsible for speeding up your experience on the operating system over time by seeing how you use your computer. On newer versions of the Windows operating system, this has been renamed to SysMain. Therefore, if you are running a newer build of the Windows 10 operating system, you should be looking for SysMain instead of Superfetch. The mentioned service can sometimes malfunction which can cause the high CPU usage issue that you are facing. In addition to this, the BITS or Background Intelligent Transfer can also be causing the problem in question. This service is mainly used to transfer files in the background using your network and then passes them to the DISM process. Therefore, in such a scenario, you will have to disable the service to resolve the problem. To do this, follow the instructions given down below:
Run System File Checker
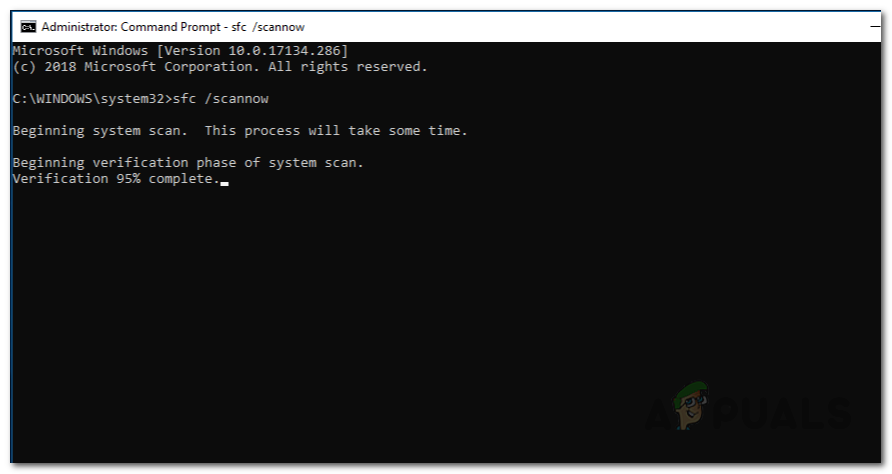
System File Checker or SFC is a tool that comes with Windows that is used to scan your system files and if there are any corrupted files found, it will replace them. The tool does this by downloading a manifest of the important files of the Windows operating system and then compares them with the ones that are present on your computer. The files are replaced in case of any issues found. Since the high CPU usage issue can sometimes be caused due to your system files, running an SFC scan can help you resolve the problem. To do this, follow the instructions given down below:
Perform a Clean Boot
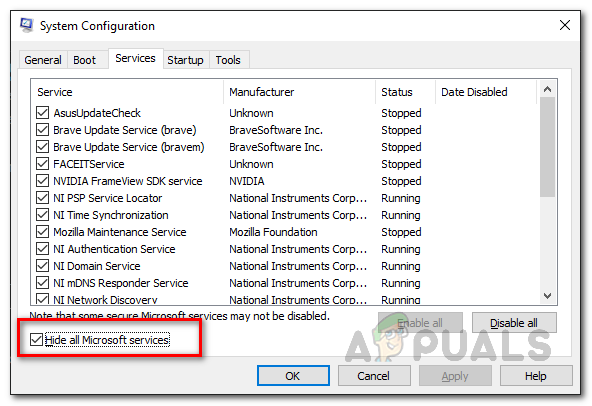
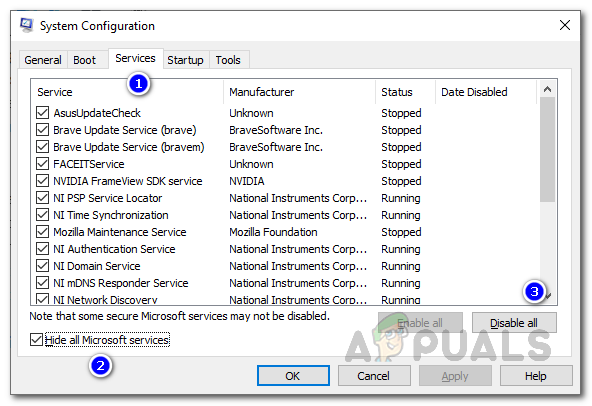
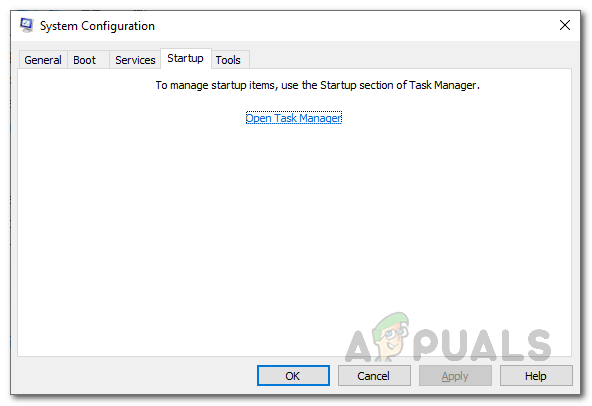
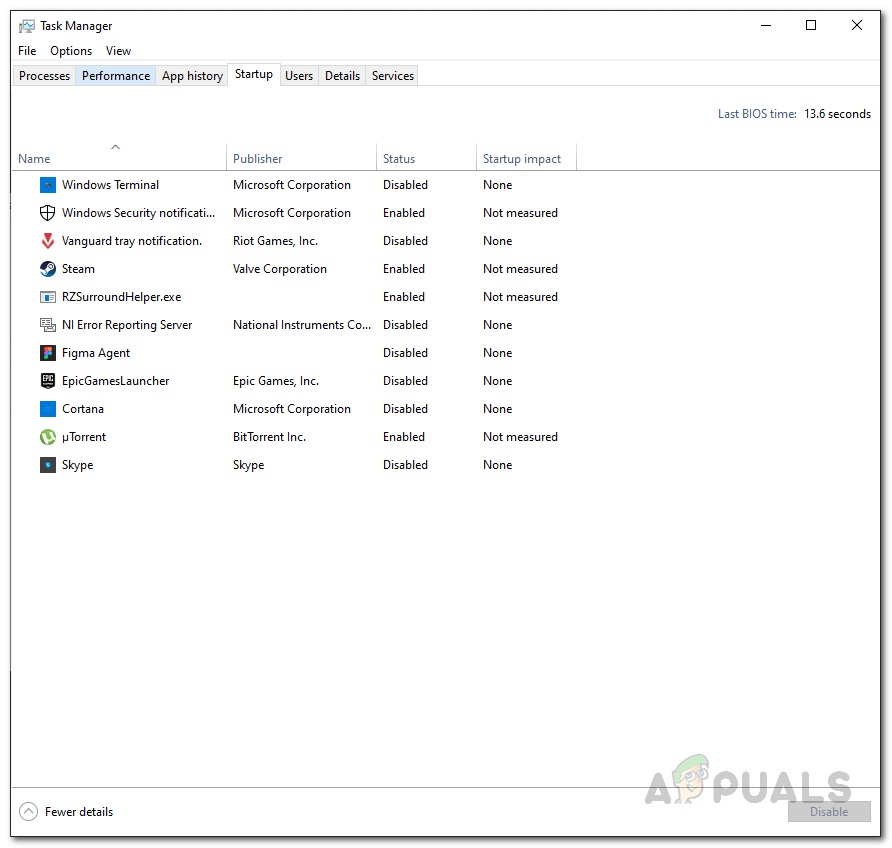
As it turns out, in some cases, the problem can be caused by a third-party application on your system. In such a scenario, you will have to perform a clean boot that will essentially disable all the non-important services and applications on your computer that run at startup. That is all a clean boot does. When you perform a clean boot and the issue is not there, it will be apparent that the problem is being caused by a third-party application. In such a scenario, you will have to uninstall any applications that you might have installed recently before the issue started. To perform a clean boot, follow the instructions given down below:
Fix: Error 50 DISM does not support servicing Windows PE with the /online optionFix: Host Process for Setting Synchronization (SettingSyncHost.exe) High CPU…Fix: Windows Host Process Rundll32 High Disk and Cpu UsageWhat is ‘Modern Setup Host’ and How to Fix High Disk Usage by Modern Setup Host?
