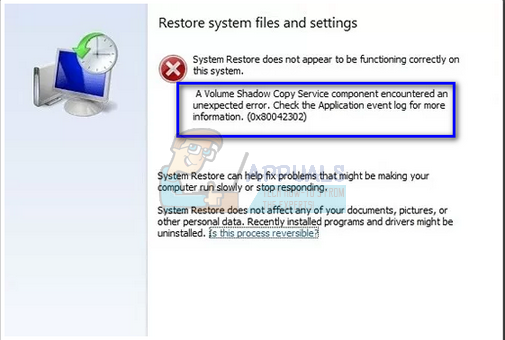
System Restore allows users to restore their state of windows from an image which is saved earlier on. This feature doesn’t require a large amount of space on your computer and is also quite easy to configure. Until now, the restoration process using System Restore is very easy and doesn’t involve technicalities. This error became more prominent after the 1709 Fall Creators update. System Image Backup (SIB) has become depreciated. This means that Microsoft has stopped the development and support of the feature but it is still available on various PC’s. Moving on, there a few workarounds for this problem. Do note that workarounds are different from fixes (fixes are where the problem is completely fixed and workarounds present ways through which you can bypass the problem and accomplish the task at hand). We cannot come up with fixes as the service itself is depreciated.
Solution 1: Using a Third-Party Alternative
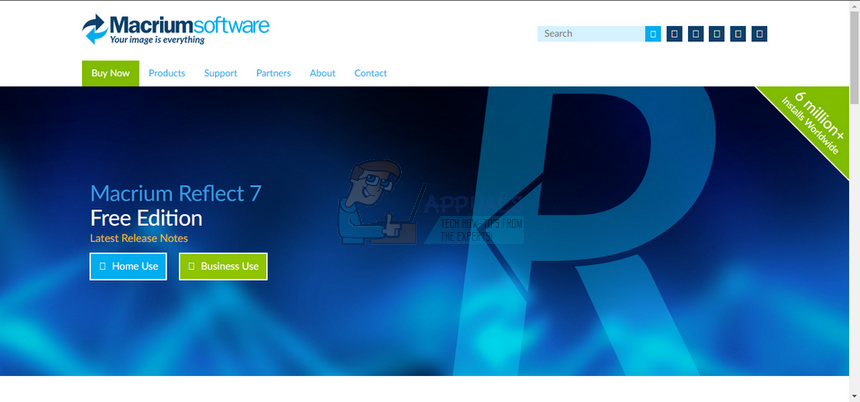
Since the service itself is depreciated, it is best if you resort to a third-party alternative. What does depreciated mean? It means that the tool is still present in Windows but its development and support is stopped. You will be using the default tool and if any error is induced (like in this case with 1709), you would have to find other alternatives because there isn’t going to be any development in this issue. You can resort to third-party alternatives which do the task just as well. One such alternative is Macrium Software. You can easily Google it, download it and follow the easy on-screen instructions to get the job done.
Solution 2: Check if Services are Turned On
A reason why you might be experiencing this problem is that your services are turned off. There are various cases where to troubleshoot an issue, your turn your services off. Furthermore, there are some PC optimization software which turn your services off in order to reduce the CPU usage or ‘optimize’ your computer. This solution works for most previous versions of Windows (Pre Fall Creators Update).
Solution 3: Installing new Windows and Mounting the Image Later (Advanced Users)
This solution is for advanced users who know what they are doing. Follow the instructions step by step and make necessary changing according to your system. Note: We are assuming file paths and directories here for your ease. Make sure to replace the drives when you are actually executing the solution with the correct ones on your computer. Note: Insert the full path of the VHDX in the first command listed instead of “fullpathvhdxindoublequotes”. New-WindowsImage -CapturePath C:\MountedVHDX -Name Win10Backup -ImagePath E:\CapturedWIM\sib.wim -Description “Windows 10 Backup” –Verify Dismount-WindowsImage -Path C:\MountedVHDX -Discard Troubleshoot > Advanced > Command Prompt Dism /Apply-Image /ImageFile:E:\CapturedWIM\sib.wim /Index:1 /ApplyDir:C:\
[FIX] Error Occurred while the wizard was attempting to set the password for…Fix: The Following Error Occurred Attempting to Join the DomainMicrosoft Attempting To Optimize ‘Project Union’ That Ties Traditional Win32…Fix: Sihclient.exe is Attempting to Access The Network


