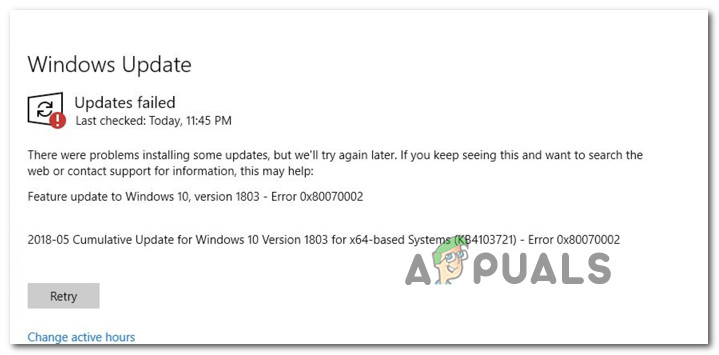
After investigating this particular issue thoroughly, we realized that there are actually several different underlying scenarios that will end up causing this Windows Update error (0x80070002). To help you pinpoint and fix the culprit that’s causing the 0x80070002 error, we’ve listed all the potential causes that are most likely responsible for this issue: Now that you’ve become familiar with every scenario that will cause this problem, let’s go over every verified fix that will cause the 0x80070002 error to occur.
Run the Windows Update Troubleshooter
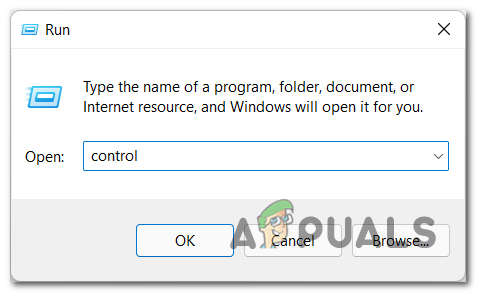
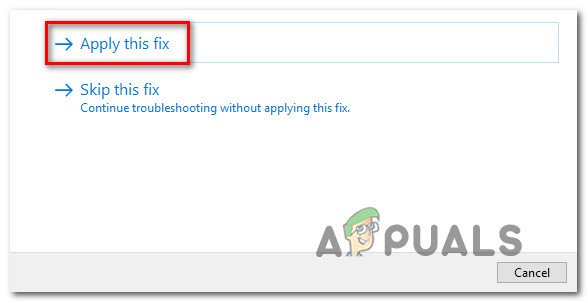
If you’re experiencing issues with Windows Update and multiple pending WU updates are failing to install with the same 0x80070002 error, our first suggestion is to try running the Windows Update troubleshooter. Note: This utility is designed to automatically identify and fix common problems. The troubleshooter on Windows 11 is much more comprehensive than earlier versions. Microsoft has added dozens of new automated repair strategies that can be applied with a single click if a recognizable scenario is identified. If you haven’t tried this fix yet, follow the instructions below to run the Windows Update Troubleshooter and apply the recommended fix automatically: Important: The instructions below will work on every recent interaction of Windows, not just Windows 11. You can use it on Windows 7, Windows 8.1, and Windows 10 too. If this method didn’t help you fix the issue, move down to the next potential fix below.
Set the Correct Time and Date
When trying to install a pending update, your PC will attempt to connect to a WSUS server. Before the download is validated, the server will cross-check the date, time, and timezone values against the values expected. That’s why it is important to make sure that your computer’s time and date are set correctly. If they are not, you may encounter the 0x80070002 error. This is because WSUS is very particular about requirements, and one of the most important requirements is having the correct date, time, and time zone. Fortunately, several users have found that they can fix this problem by simply adjusting the time, date, and time zone settings via the Date & Time utility. Follow the instructions below to make sure that the date and time are correctly established: If the same kind of issue is still occurring, move down to the next potential fix below.
Clear the temporary Windows Update files
If you got this far without a viable fix, you’re likely dealing with a bug that is affecting the Windows Update troubleshooter. Since the methods above have not been effective, the next best thing you can do is deploy the same repair strategies in order to reset every Windows Update component that might be causing issues with your pending Windows updates. The most common instance that will cause this kind of issue is one or more WU (Windows Update) components that are currently stuck in a limbo state (they’re neither open nor closed). If this scenario is applicable, you will be able to fix the problem by resetting all WU components that are involved in the updating process. Here’s what you need to do: Restart your PC once again and see if the problem is now fixed. If the same 0x80070002 error is still occurring, move down to the next method below.
Edit the AllowOSUpgrade key via Registry Editor
We’re receiving reports from users that they’re encountering an issue when trying to install the latest Windows update. It seems that the cause of the problem may be a registry key called AllowOSUpgrade. To fix the issue, you’ll need to open Registry Editor and change the default settings for this key. This method can help you solve the “Something happened 0x80070002” error when installing a Windows upgrade. Here’s what you need to do: If the Windows updates are still failing to install, move down to the next method below.
Disable the 3rd party antivirus (if applicable)
If you’re having trouble installing the final update that will upgrade you to Windows 11, it could be because of a 3rd party security interference. Important: Some antivirus suites are known to conflict with the Windows 11 Upgrade assistant – Zone Alarm and the free version of AVG is the most commonly reported. In most cases, you can disable the 3rd party antivirus temporarily by right-clicking on the AV’s taskbar icon and disabling the real-time AV shields. Just keep in mind that this will only work if the AV suite doesn’t have a firewall component. If the suite does have a firewall component, follow the instructions below to uninstall the 3rd party tool and remove any remnant files before attempting to upgrade to Windows 11 again: If this method was not applicable in your particular scenario, move down to the next method below.
Deploy DISM and SFC Scans
The error code 0x80070002 is a very common error that can occur when there’s an inconsistency facilitated by some kind of corruption affecting Windows Update or an associated dependency. In most cases, this error is caused by a corrupted system file that is preventing the auto-updating function from working properly. If this sounds like it could be the problem you’re experiencing, the first thing you should do is run a couple of scans using the built-in System File Checker (SFC) and Deployment Image Servicing and Management (DISM) tools. Both SFC and DISM have their similarities, but we recommend running both scans one after the other for the best chance of fixing any corrupted system files. If this scenario applies to you, start with a basic SFC scan. Note: Keep in mind that this tool is entirely local and will not require you to be actively connected to the internet. Once you start the SFC scan, it’s crucial that you do not close the CMD window, even if the scan appears to be frozen. Wait patiently until the process is complete, as interrupting it may cause logical errors on your hard drive or SSD. Once the SFC scan has finished successfully, reboot your computer and check to see if the issue has been fixed once the next startup is complete. If you’re still seeing the 0x80070002 error when trying to run the Windows Update Troubleshooter, try running a DISM scan next and follow the on-screen prompts to finish up. Note: One key difference between SFC and DISM is that DISM uses a sub-component of Windows Update to download healthy equivalents of any corrupted system files it finds. Because of this, you need to make sure that you have reliable internet before beginning this operation. Once the DISM scan has finished successfully, restart your computer again and see if that has fixed the 0x80070002 error. If not, move on to the next potential fix below.
Use a System Restore
If you’ve tried all of the above methods to fix the 0x80070002 error and you’re still unable to install certain pending Windows Updates, the next thing you can try is to revert your machine to a previous system restore point. This has helped some users fix the issue. Note: System Restore is a feature in Microsoft Windows that allows you to revert your computer’s state back to a previous point in time. This can be used to recover from system malfunctions or other problems. Follow the instructions below to revert your PC back to a healthy state: If the same kind of issue is still occurring, move down to the next potential fix below.
Perform a Repair Install or Clean Install
If you’ve tried all of the above steps and still can’t seem to fix the Windows Update 0x80070002 error, it’s probably because of a deeper system corruption that can’t be fixed using DISM or SFC scans. Some users who had the same issue found that refreshing every Windows component worked for them. You can do this by doing a clean install or an in-place repair. A clean install is simpler, but keep in mind that you’ll lose all your personal files (like applications, games, personal media, etc.) unless you back them up first. If you choose to do an in-place repair instead, it’s a little more complicated, but you get to keep all your personal files including applications, games, personal media, and even some user preferences.
How to Fix Xbox App Sign In Error (0x409) 0x80070002Fix: An Error [-5005 : 0x80070002] Has Occurred While Running the SetupHow to Fix “The system cannot find the file specified” Error 0x80070002Fix: System Center 2012 Endpoint Installer Error 0x80070002


