There are five ways to disable your keyboard on Windows 10. These steps can also apply to Windows 11.
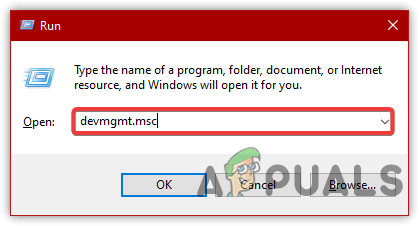
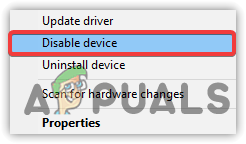
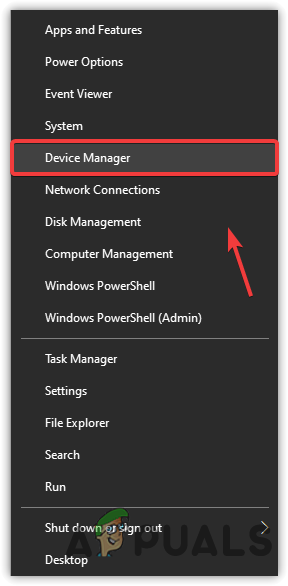
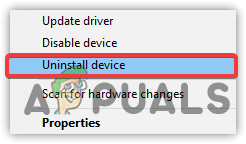
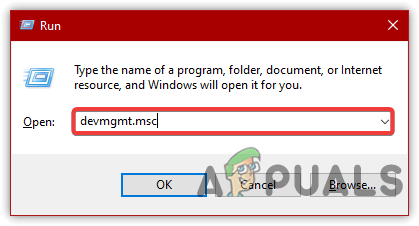
1. Use Device Manager to Disable the Keyboard
Device Manager displays a list of drivers that are installed on your computer. You have to select your keyboard driver from there to disable the laptop’s keyboard.
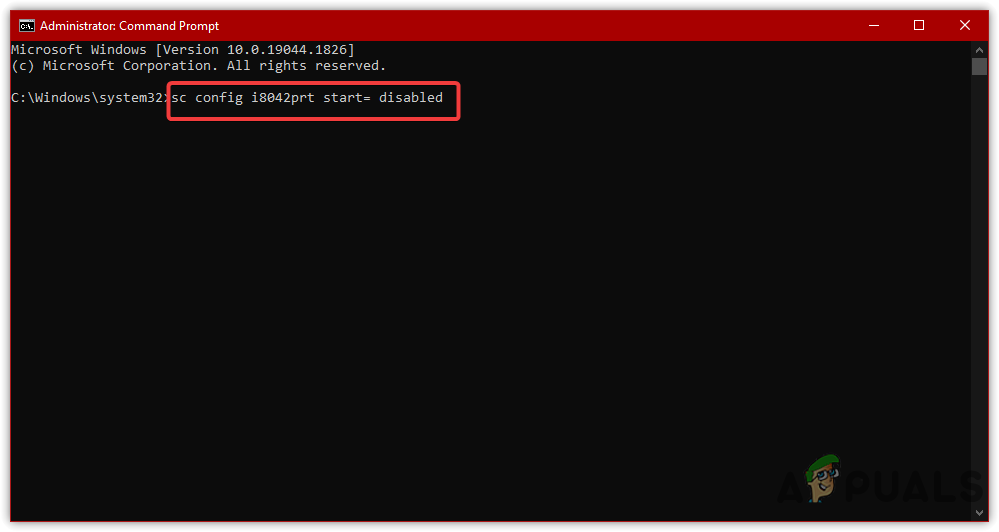
2. Disable the Service that controls the PS/2 Port
Another method to disable the internal keyboard is to disable the service that transfers the input data to the laptop. This method works for almost every laptop as the ps/2 port helps connects most laptops to the keyboard. Disabling the PS/2 port will actually disable the power, which will stop the input data once you restart.
3. Enable Device Installation Restriction (Olde Version)
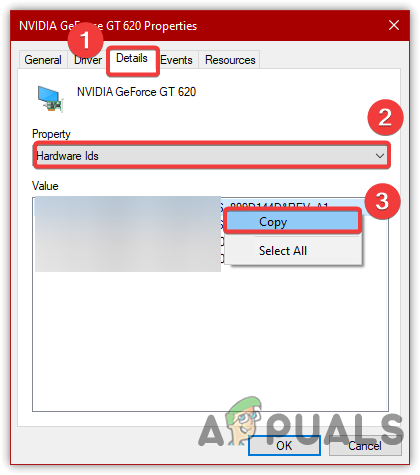
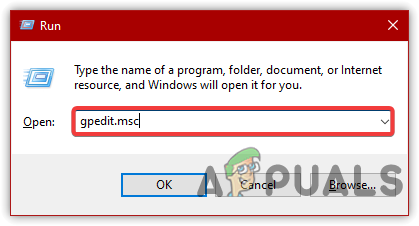
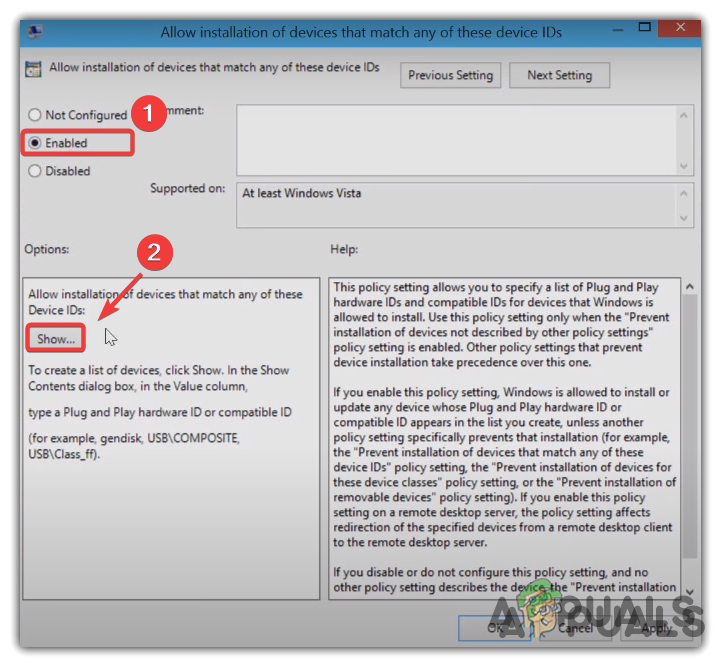
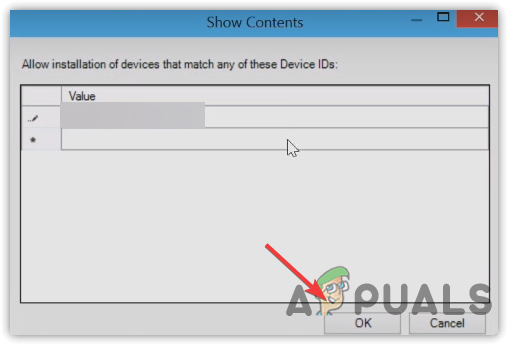
Device Installation Restriction will allow you to prevent Windows from installing the driver. Basically, it is a feature that takes the hardware id of the device that you don’t want windows to install and restricts the Windows update to install the device driver. Therefore, you have to enable Device Installation Restriction From Group Policy Editor.
4. Use the Wrong Driver to Disable the Keyboard
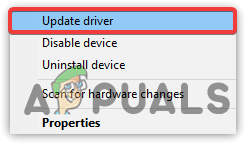
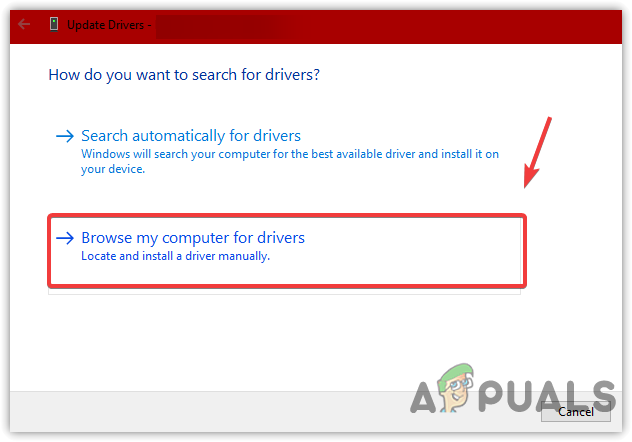
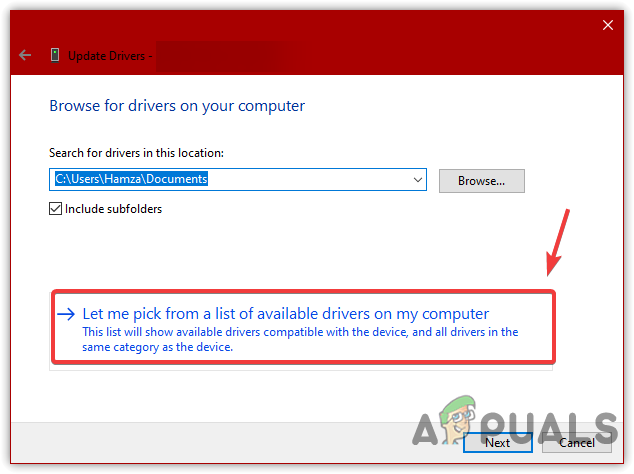
If the above solution fails to disable the keyboard, another thing you can do is select the incompatible driver for the keyboard, which allows you to disable the keyboard permanently as it won’t download the driver either. Follow the steps to select the incompatible driver:-
5. Change Device Installation Settings
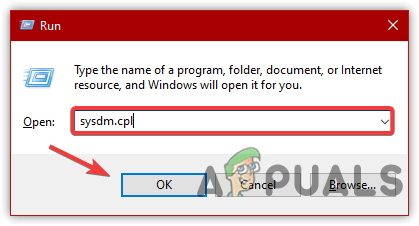
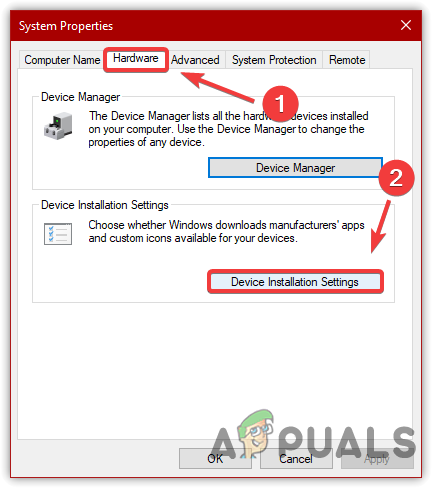
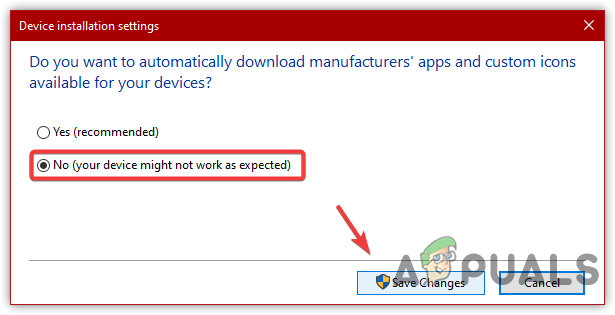
Device installation settings allow Windows to download drivers automatically for their hardware via Windows update. Usually, you may see that when you restart after uninstalling the device, the driver automatically installs. Thus, to fix this, you will need to stop Windows from installing the driver. Therefore, you have to change the Device Installation settings.
How to Disable a Laptop’s Keyboard on Windows 10Fix: Laptop Keyboard not WorkingFix: Disable Windows 10 On Screen KeyboardHow to Enable or Disable text prediction for a Windows 10 Keyboard
