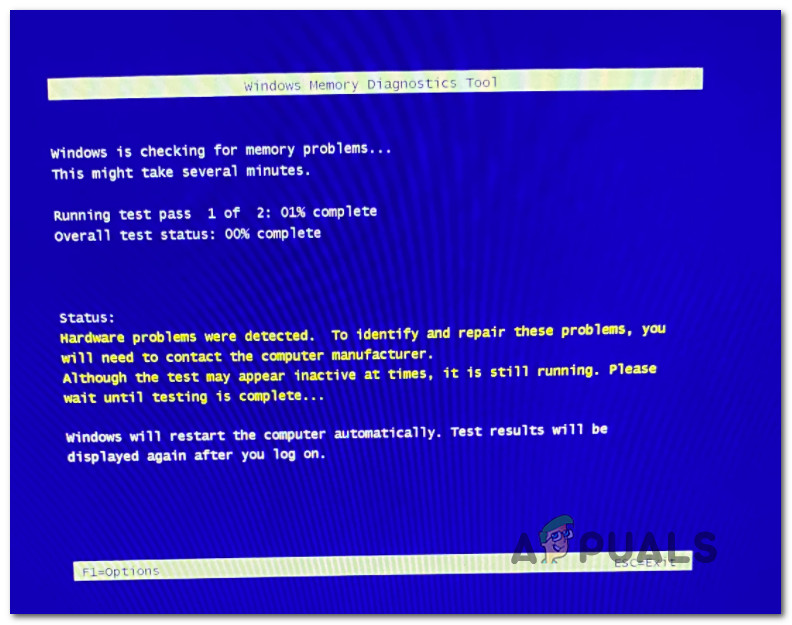
After investigating this issue extensively, it turns out that there are several different underlying scenarios that might be causing this particular error code. Here’s a shortlist of potential culprits that might be responsible for this issue: Now that we went over every potential scenario that might trigger the ‘Hardware Problems Were Detected‘ error, here’s a short list of fixes that other affected users have successfully used to get to the bottom of this issue.
Run the Hardware and Devices Troubleshooter
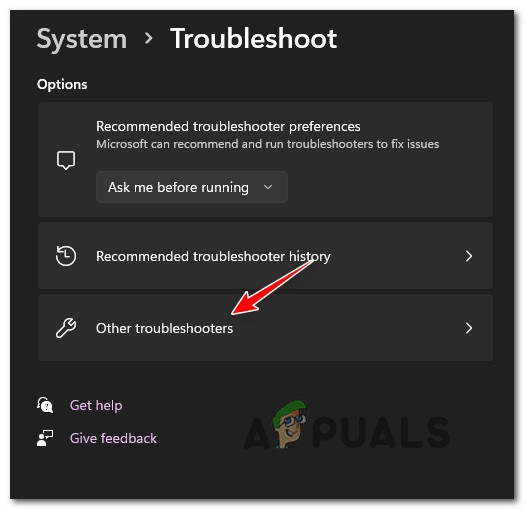
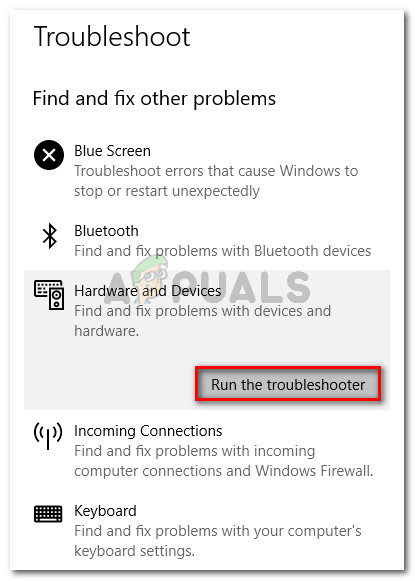
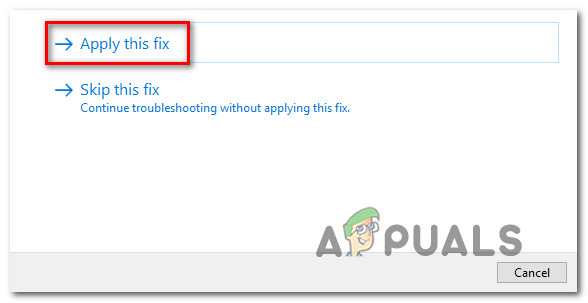
Before you try any of the other fixes below, you should start by checking if your Windows installation is not capable of pinpointing and fixing the issue by itself. If the error message is triggered by a non-essential component, running the Hardware and Devices Troubleshooter might allow you to discover which component is responsible. Note: The Hardware and Device Troubleshooter contains a selection of automated fixes that can be auto-applied in case a familiar scenario is identified. Most of these fixes will fix issues related to file corruption and bad drivers. They’ll obviously not be effective in a situation where there’s something physically wrong with your hardware. If you haven’t tried running the Windows Hardware and Devices Troubleshooter yet, follow the instructions below for step by step instructions on how to do this: In case the same kind of issue is still occurring, move down to the next potential fix below.
Disable Overclocked frequencies
Another potential cause that might be producing this issue and that is often overlooked is a situation where you previously overclocked GPU, CPU, or RAM frequencies and adjusted the voltages in a way that makes your PC unstable. If you are currently using overclocked frequencies higher than what your system deems as safe, you can expect the Windows Memory Diagnostic tool to trigger the Hardware problems were detected. Even if there’s no damage affecting the overclocked components, your system will throw this error to warn you against component overheating. You can test if this is the source of the error message by temporarily disabling (or at least reducing) the overclocked frequencies and voltages. For the best results, return every overclocked frequency and voltage to their default values. Once you’ve returned to your BIOS / UEFI settings and reverted the overclocked frequencies back to their default values, reboot normally and run the Windows Memory Diagnostic tool once again to see if the problem is now fixed. In case the same kind of issue is still occurring or this scenario is not applicable (no component is overclocked), move down to the next potential fix below.
Check for Failing RAM with MemTest86
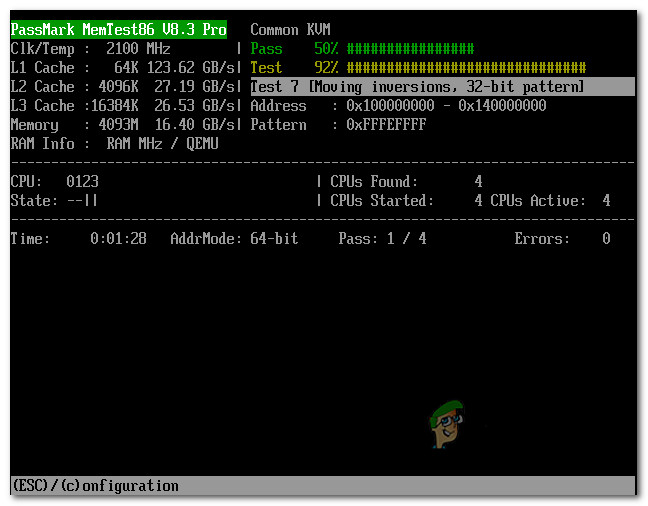
This particular error message is often times associated with a memory fault. If none of the methods above have brought you close to potential culprits, you should also take the time to test your RAM stick/s and see if there’s an issue with them that’s forcing the Windows Memory Diagnostic tool to trigger the ‘Hardware problems were detected’ error. In case you are using a dual-channel RAM setup, start troubleshooting by taking out just one stick and see if the error stops occurring. Additionally, you should use a utility like Memtest to verify the integrity of your RAM stick/s. Important: If your RAM is currently overclocked, we recommend reverting any voltage overclocked frequency and use a utility like HWMonitor to keep an eye on your temperatures while running a stress test. In case running a Memtest job on your RAM has revealed an underlying issue with your memory, you have little else to do than look for a replacement. If the investigations you just didn’t reveal an underlying issue with your RAM, move down to the next potential fix below.
Perform a clean install or repair install
As it turns out, this particular issue can also be caused by some type of system file corruption that is affecting the Windows Memory Diagnostic tool or an associated kernel dependency. For this particular case (where the issue is actually caused by a corrupted dependency), the best course of action is to replace every system file component with a healthy equivalent. You can do this by clean installing your operating system, or you can go for a repair install (in-place repair) operation. The main advantage of going for a repair install operation is that you will be spared from having to reinstall everything – this procedure will only touch system components, allowing you to keep personal files, data and even applications that are currently stored on the OS drive. But keep in mind that the procedure of repair installing will be a bit different depending on which Windows version you’re currently using:
Repair install (in-place repair) on Windows 10Repair install (in-place repair) on Windows 11
Take PC to a Certified Technician
If none of the methods above have proven to be effective in your particular case, the only thing you can do at this point is to take it to a certified PC technician so they can perform some advanced checks and pinpoint the hardware component that is causing the error. In reality, there are a lot of other scenarios that might cause the Windows Memory Diagnostic tool to throw the ‘Hardware problems were detected’ error. It’s not uncommon to see this error when the PSU used is not strong enough to supply electricity to every component or you can be dealing with some kind of motherboard issue. These types of tests can only be performed in a specialized shop.
[FIX] Service Host: Diagnostic Policy Service High CPU & Memory UsageFix: (0x80240438) ‘There were some problems installing updates’ WindowsHow to Fix “Realtek PCIe GBE Family Controller adapter is experiencing driver -…How to Fix Speech Diagnostic Calibrate Error 0x80004003
