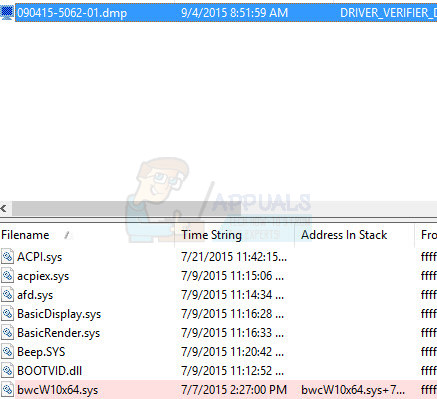
You may experience this issue out of the blue, and it is fairly easy to recognize – you will get the dreaded Blue Screen of Death, and a message indicating that bwcW10X64.sys is the file causing the error. While yes, that is a possible cause, there is also one more thing that may cause this issue.
There is a solution for both causes for this issue, and they are both fairly easy, as long as you follow the instructions.
Method 1: Update or reinstall your network drivers
As mentioned earlier, the .sys file that is causing the BSODs is the driver for Killer Networking cards, and if it is indicated as the cause of the issue, there is a very high possibility that it is in fact causing issues. The solution is to update, or completely reinstall the latest drivers for your motherboard and network card.
Option 1: Update the drivers
Updating the drivers is the first thing to try, and the first step is to press the Windows key on your keyboard and type Device Manager. Click the result, and in the list of devices locate Network adapters, and expand it. You should find your Killer Networking network adapter inside. Right-click it, and from the dropdown menu, select Properties. Navigate to the Drivers tab, and click Update Driver. Follow the wizard to update your drivers, and restart your system in the end.
Option 2: Reinstall the driver
Your first step here is to download the driver for your network card from your motherboard manufacturer’s website. Head there, find your specific motherboard and the correct version of the operating system you are using, and download the network drivers for the Killer Networking adapter. This should be done before uninstalling your current driver, just in case something goes wrong. When you’ve downloaded it, open Device Manager and open the Properties of your network adapter, as described in the previous option. However, this time, instead of Update Driver, you should click Uninstall. Again, follow the wizard until your drivers are uninstalled and restart your system. When your system starts again, navigate to your Downloads folder and install the drivers you downloaded previously. When this is done, again, restart your system for the changes to take effect. After this, you shouldn’t be getting BSODs. If, however, you are, continue to the next method.
Method 2: Check, and if necessary replace, your RAM memory
The second possible cause for this issue is bad RAM. This will require a hardware check for best results, but it isn’t hard to do.
Option 1: You have only one RAM stick
If you have only one stick installed on your motherboard, you will need to borrow/buy another one for testing purposes. Removing it from your motherboard and installing another one, then booting your system will let you know if the RAM is okay, or you should replace it. If you no longer get the BSOD with another RAM stick, you will know that it needs to be replaced
Option 2: You have multiple RAM sticks
If, however, you have two or more sticks installed, you will need to check each one of them. Remove all but one, and boot and run the system like this. If one of the RAM sticks is bad, you will most likely continue getting the BSOD when that specific RAM stick is installed on the motherboard. This way you know that you need to replace it. Whichever of the aforementioned causes it is, the worst case scenario is you having to buy new memory for your system, which isn’t at all bad, considering how cheap RAM is nowadays. No matter what, you will have your system up and running in a minimal amount of time.
How to Fix irql_not_less_or_equal Error on Windows 10Fix: IRQL_NOT_LESS_OR_EQUAL (ntoskrnl.exe) BSODFIX: DRIVER_IRQL_NOT_LESS_OR_EQUAL (netio.sys) OR…How to Fix “Bddci.sys” Blue Screen Error on Windows