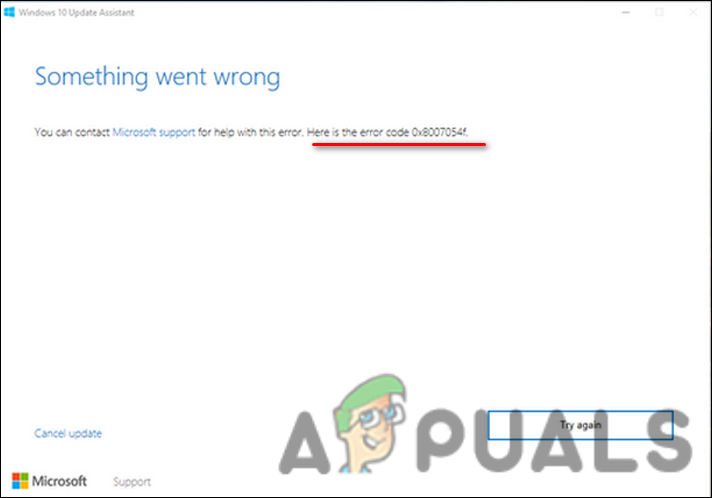
The error only states that ‘Something went wrong’, which makes it a bit difficult to identify the cause of the issue and implement the relevant solutions. Below, we have mentioned some tried and tested troubleshooting methods that worked for other users in fixing the problem. Proceed with the one that fits your situation the best.
1. Run the Windows Update Troubleshooter
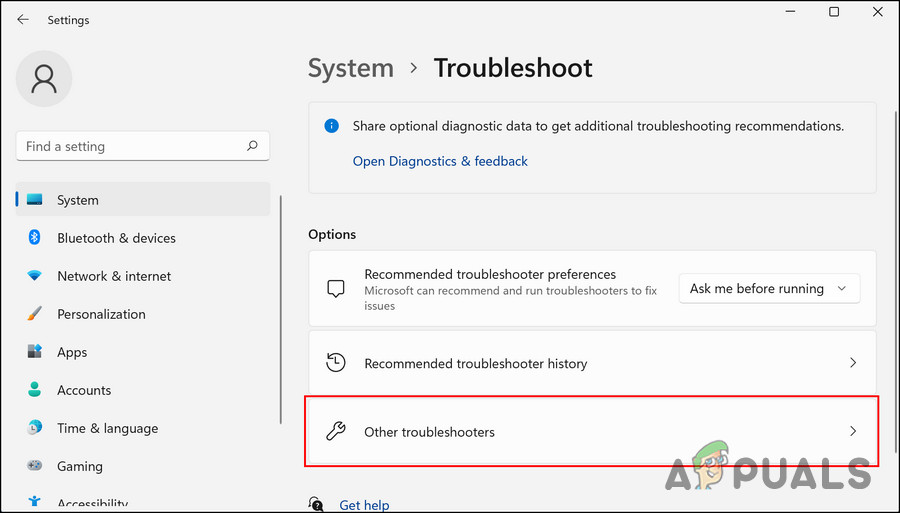
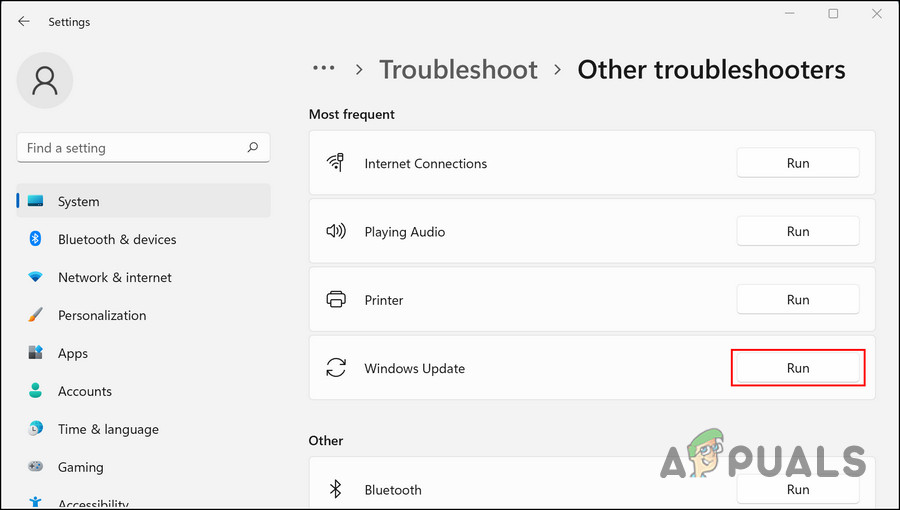
Running the Windows update troubleshooter is a good place to start troubleshooting whenever your system cannot install the updates. This troubleshooter is designed by Microsoft to scan your computer for update-related errors and fix the ones that are identified. You can run the Windows update troubleshooter via the Settings app. Here is how you can do that:
2. Reset Windows Update Services and Cache
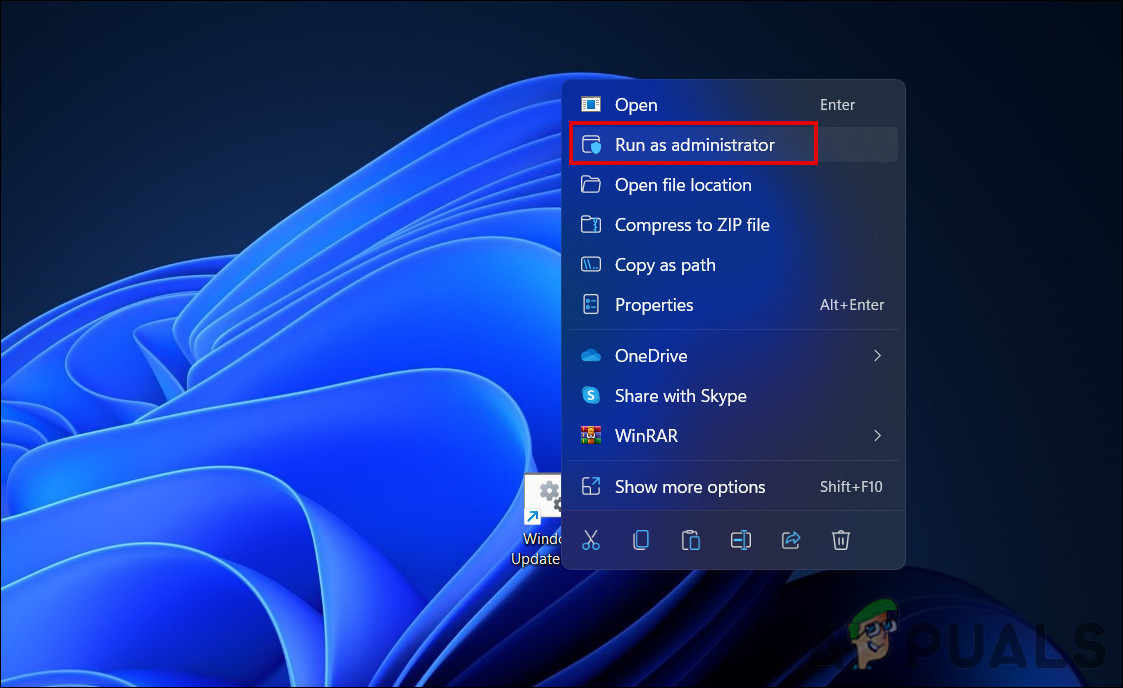
The system requires functioning update services and other relevant components to install the updates successfully. There is a chance that one more of these services is disabled or just not working properly, which is leading to the issue at hand. The easiest way to get these services up and components up and running again is by resetting the Windows Update service and cache. For this purpose, we have created a batch file that will make the entire process simpler for you. However, before we proceed, we recommend creating a restore point on the system. This will take a snapshot of the current system state and help you revert to this state if anything goes wrong during the process. Once the restore point is created, follow these steps:
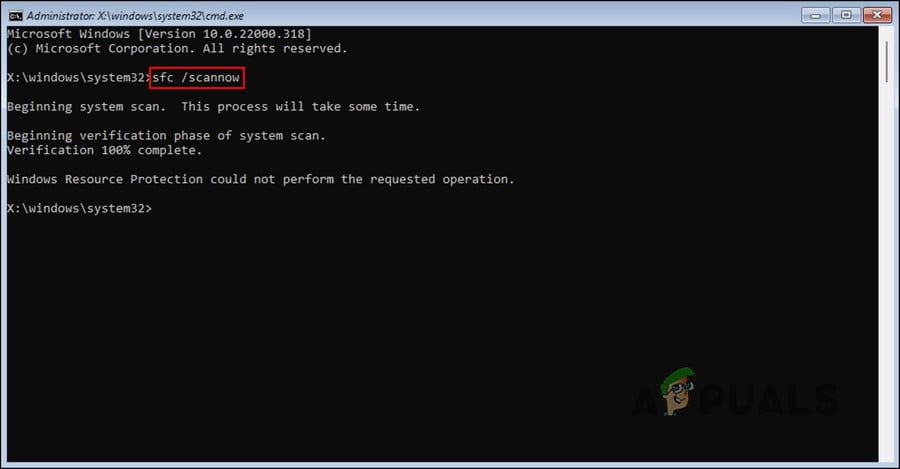
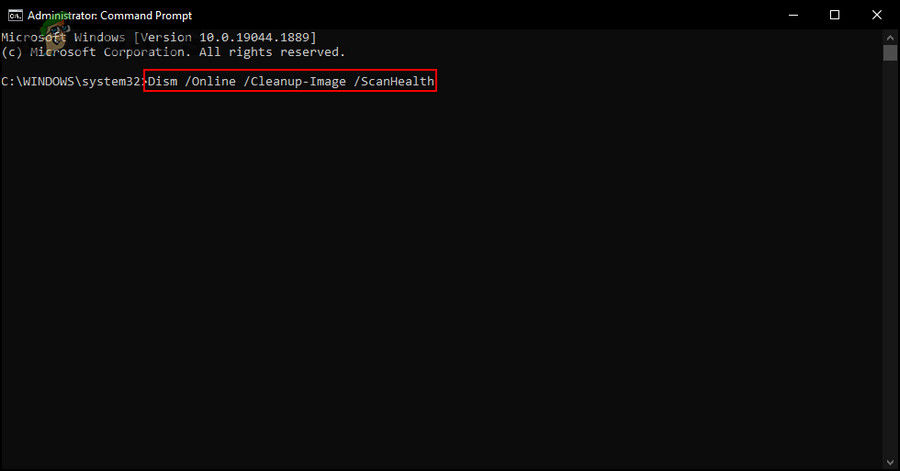
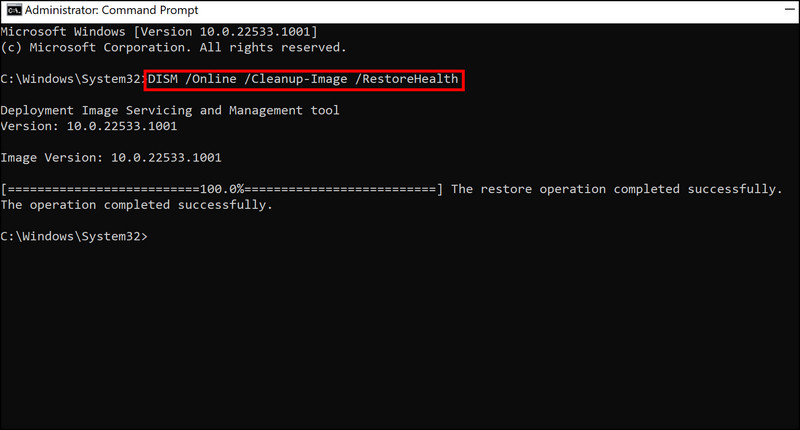
3. Run System Scans
Additionally, you can use other system troubleshooting utilities such as SFC and DISM if the Windows troubleshooter was of no use in identifying and fixing the problem. The System File Checker, as the name suggests, scans the protected system files for errors and inconsistencies. In the event SFC finds a corrupt file, it replaces it with a healthier version from its cache. DISM, on the other hand, repairs the system image. Make sure you are logged into Windows as an administrator before continuing because we will be running these tools from the Command Prompt. Here is all that you need to do: After executing the command, close the Command Prompt window and see if you can now install the update successfully.
4. Disable Bitlocker (If Applicable)
You might also not be able to install the update because the Bitlocker is enabled, which is interrupting the system’s process of installing the update. If this scenario is applicable, disable the Bitlocker to install the update. Here is what you need to do:
5. Install the Update Manually
Another way of installing the updates that the system itself cannot install automatically is by using the Microsoft Update catalog. This directory lists all the updates released by Microsoft, which you can easily download. Here is how you can use the Microsoft Update Catalog to install the updates manually:
Fix: Windows Update Assistant Error Code: 0x8007054FFix: Windows Update Error “We Couldn’t Connect to the Update Service”[SOLVED] One of the Update Services is not Running Properly in Windows UpdateHow to Update the Windows Update Agent to the Latest Version